
Như đề cập ở bài blog trước, mặc dù là một framework đơn giản và mạnh mẽ, song BentoML chưa hỗ trợ một số features hay ho như horizontal scaling, hay blue-green deployment. Seldon Core có thể được sử dụng như một giải pháp thay thế, tuy nhiên yêu cầu nhiều kiến thức hơn về Devops cũng như Kubernetes.
1. Seldon Core
Seldon Core là một framework giúp đóng gói và deploy các model trên Kubernetes một cách dễ dàng. Công cụ này cũng hỗ trợ nhiều features nâng cao như: monitoring, logging, explainers, AB test, vân vân và mây mây.
2. Quick start
Seldon Core cung cấp sẵn prepackaged server, cho phép user chỉ cần định nghĩa đường dẫn tới model weight (Line 12) và deploy. Đường dẫn này cần chứa 2 files sau: model.joblib (model weight), và metadata.yaml (lưu metadata của model, optional)
1 | # metadata.yaml |
Hãy thử deploy service đầu tiên với Seldon Core bằng cách apply file dưới đây nào các bác
1 | # seldon.yaml |
Lưu ý một số thông tin quan trọng ở file trên:
- Line 43: Chúng ta chọn SKLEARN_SERVER, do
model.jobliblà model sklearn - Line 47: Số lượng pod cho service trên là 1 (chúng ta sẽ học cách tự động thay đổi số lượng replica trong những phần sau)
Bây giờ hãy thử port-forward service và test API nào
1 | kubectl port-forward svc/sklearn-default-classifier -n models 9000:9000 |
1 | $ curl -d '{"data": {"ndarray":[[1.0, 2.0, 5.0, 6.0]]}}'\ |
1 | $ curl http://localhost:9000/api/v1.0/metadata |
3. Custom model server
Sử dụng prepackaged model server giúp chúng ta chỉ cần quan tâm tới training model để ra được weight, mà không cần quan tâm tới việc code phần API cho model inference. Tuy nhiên, trong thực tế, đôi khi model inference không chỉ đơn giản là clf.predict(), và khi đó chúng ta cần phải customize model server như ví dụ bên dưới.
Cấu trúc thư mục của ví dụ này như sau:
1 | custom-server/ |
Trước hết chúng ta sẽ chuẩn bị phần inference code để xử lý các request tới API
1 | # online_score_api.py |
Seldon Core hỗ trợ build 2 loại model server: reusable và non-reusable. Ở ví dụ trên, Line 6 load từ GCS (remote storage) nên là reusable server, nếu load từ file trong image thì sẽ là non-reusable. Hàm load() được đặt trong hàm __init__() do chúng ta muốn load model một lần, trong khi khởi tạo pod.
Cuối cùng chúng ta sẽ viết hàm predict() như Line 16 để mỗi khi có request tới thì hàm này sẽ xử lý. Các bác có thể thấy hàm này nhận 3 params là:
- X: (prediction data đã được Seldon Core tự động chuyển đổi qua dạng numpy array)
- names: tên của các cột tương ứng trong X
- meta: các thông tin khác
Một lưu ý cho các bác nếu không muốn bị Seldon tự động chuyển input sang dạng numpy array (hoặc đôi khi Seldon không thể chuyển qua dạng numpy array), thì các bác chỉ cần thay hàm predict() bằng predict_raw() là được nha.
Tiếp theo chúng ta sẽ chuẩn bị một file Dockerfile đơn giản, giúp package đoạn code inference trên thành Docker image để đem đi deploy.
1 | # Dockerfile |
Note: Các bác chú ý cấp quyền rw tới thư mục /mnt/model (Line 5) để có thể lưu model nha, nếu không thì sẽ bị lỗi permission. OK! Giờ thì sửa file YAML để đem đi apply, tương tự như prepackaged server nào.
1 | # seldon.yaml |
Ở Line 15 các bác điền service account phù hợp để service có quyền kéo model từ GCS về nha. Tận hưởng thành quả thôi nào!
1 | $ curl -d '{"data": {"names": ["a", "b", "c", "d"], |
Bây giờ chúng ta sẽ chuẩn bị phần reponse cho /metadata endpoint bằng cách thêm hàm init_metadata trong code inference
1 | class online_score_api: |
Khi đó response của route /metadata sẽ tương tự như sau
1 | {"custom":{"author":"seldon-dev","extra":"information"},"inputs":[{"messagetype":"tensor","schema":{"names":["a","b","c","d"],"shape":[4]}}],"name":"iris-sklearn","outputs":[{"messagetype":"tensor","schema":{"shape":[1]}}],"platform":"seldon","versions":["v0.0.1"]} |
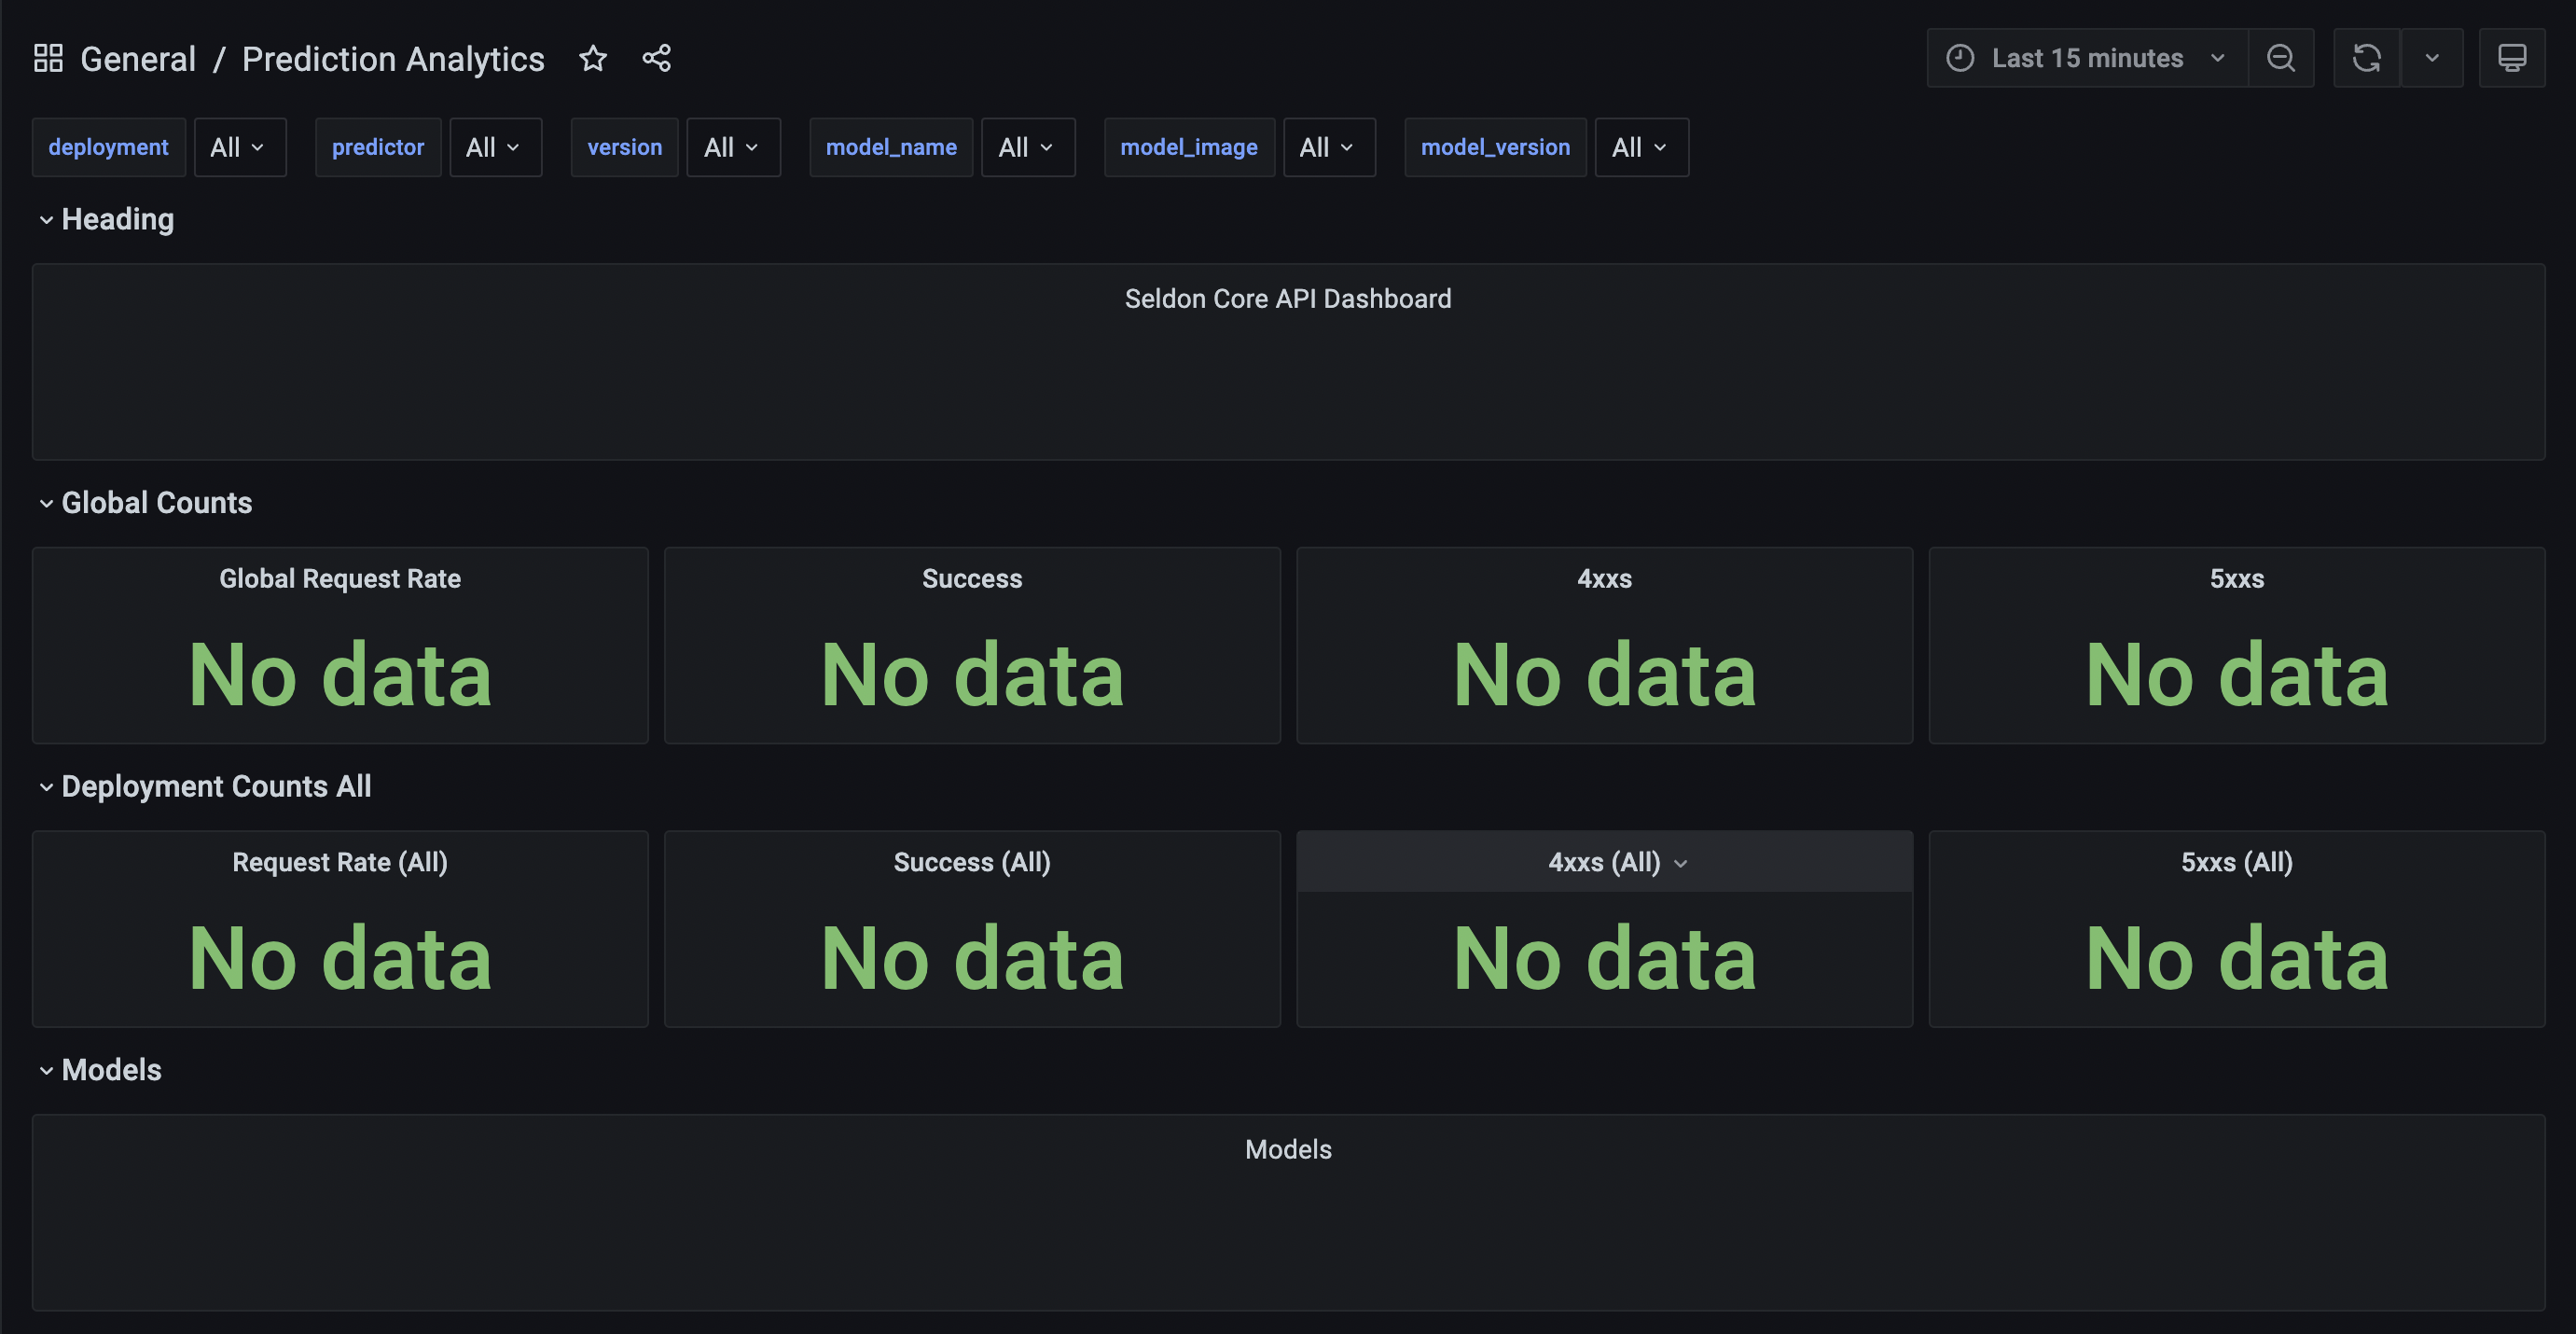
Trên đây là các bước cơ bản để các bác có thể deploy một model lên cụm Kubernetes. Ở các phần sau chúng ta sẽ cùng nhau tìm hiểu thêm một số features thú vị khác mà Seldon cung cấp nha. Ví dụ cái monitoring dashboard như sau:
Code về tutorial các bác có thể xem ở đây: https://github.com/quan-dang/seldon-tutorials